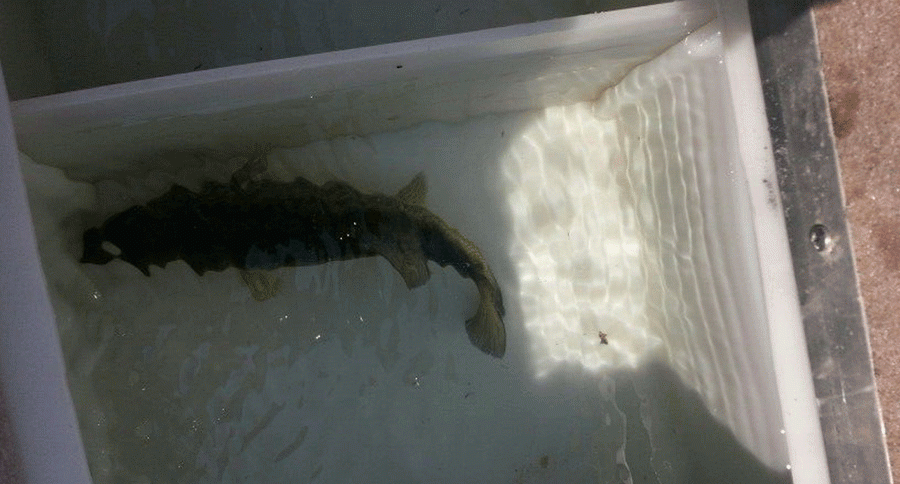
A livewell can come in handy when fishing in tournaments or just spending a day on the lake.
Let's face it, a livewell is a must-have accessory when it comes to serious fishing. If your boat doesn't have a livewell or one in working condition, perhaps you should try building your own.
There are many different methods for building a DIY livewells, ranging in both price and complexity. Follow the steps below to build homemade livewell for as cheap as possible!
Supplies needed
- 1 cooler (size is up to you but make sure it is big enough to hold the fish you plan to put in it)
- 1 aerator (match this to the size of your cooler)
- Drill
- Caulk (optional)
- Metal Strap
- Pliers or snips
- Screws
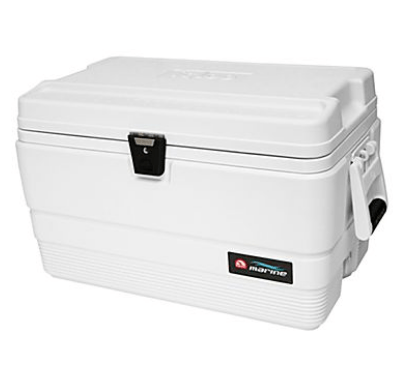
Get the biggest cooler that'll fit in your boat. It doesn't matter how much air you pump into a 20-quart cooler. Once you get a few fish in it, they'll use the oxygen faster than you can supply it. Also, remember you're usually only going to fill the cooler up about halfway with water, so a 54-quart cooler like this one from Bass Pro Shops will only have about 26 quarts of water in it.
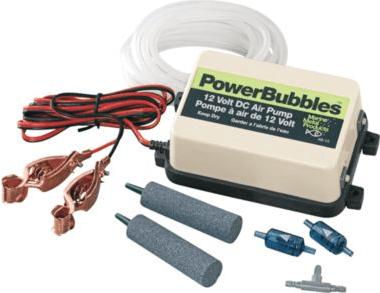
The main component of your DIY livewell is the aerator. Make sure you have one that works for your needs. If it can't pump enough fresh air into the water, it won't be able to keep your fish alive. This aerator from Cabela's comes with two air lines and alligator clips, which will work great for up to 15 gallons of water.
If you have more water than that, you can always go with this one (also from Cabela's). It works to keep up to 50 gallons oxygenated, but you'll also need to get an adaptor unless your boat has household plug outlets.
The build
This is one of the easiest DIY projects you'll do this fishing season. Once you have all of the parts, the assembly should take no more than 15 minutes.
First, you need to figure out the best place to mount your aerator. You want it to be somewhere on the outside of the cooler where it won't be in the way. You should probably make sure it doesn't interfere with opening and closing the cooler or transportation.
Also think about where the livewell will sit in your boat. You need to put the aerator somewhere on the upper half of the cooler, but make sure it isn't going to get in the way. Once you've selected the best place, just take a pencil and trace the outside edges of your aerator.
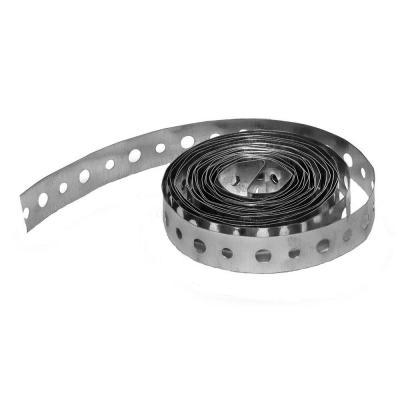
Now it's time to take the metal strap, like this one from The Home Depot, and create a housing for the aerator. Just use your hands or a pair of pliers to shape the strap into a crate that'll hold the aerator in place on the side of the cooler. I recommend at least one horizontal strap, one vertical strap and more, if you think it's necessary.
Once the metal straps are cut to shape, it's time to attach the aerator to the cooler. Just stick it in the box you traced and use some 1/4-inch screws to attach the metal straps to the cooler. Once you're finished, the aerator should be safely and firmly attached to the cooler.
Now you need to drill a hole or two for the aerator line to go inside the cooler. I recommend doing this around 2 inches from the top of the walls of the cooler.
The number of holes will depend on your aerator setup. If you just have one air line, you only need one hole. If you have two lines, you'll need two holes, and so on. Select a drill bit as close as possible to the diameter of your air line (you don't want a lot of air going in and out of the cooler around the line) and drill your hole.
Then, simply feed your line through the hole to the inside of the cooler. I recommend taking another section of your metal wire and carefully screwing it into the base of the cooler. Don't go all the way through, though! Go just far enough that you can slide the bubbling end of the aerator underneath it to make sure it stays at the bottom of the water.
If you want to make sure the water stays cold, patch up around the hole you drilled with some caulk.
You now have a DIY livewell that's ready to go on the boat for a whole day of fishing!
NEXT: HERE'S A GOOD WAY TO CATCH A LOT OF FISH IN A HURRY
