The process of caring for our wild game meat starts long before it ever reaches the kitchen table.
The field to table movement is a great one, and inspiring sportsmen and women across the globe to procure their own protein through wild game harvests. However, caring for your wild game meat goes beyond the recipe you use to cook it up. The method an animal is harvested, field dressed, transported, butchered, stored, and eventually prepared will all weigh in on the final product.
For many, this is a simple process of repetition that they've memorized. We should all have a good idea of what to do with our meat and how we will keep it safe from spoilage.
For the purpose of this post, we'll focus mostly on deer and venison, but many of the same principles apply to any hooved game animal and even some birds. Let's take a look at some of steps as a reminder of what it takes to care for your harvest before it ever reaches the plate.
Field Dressing
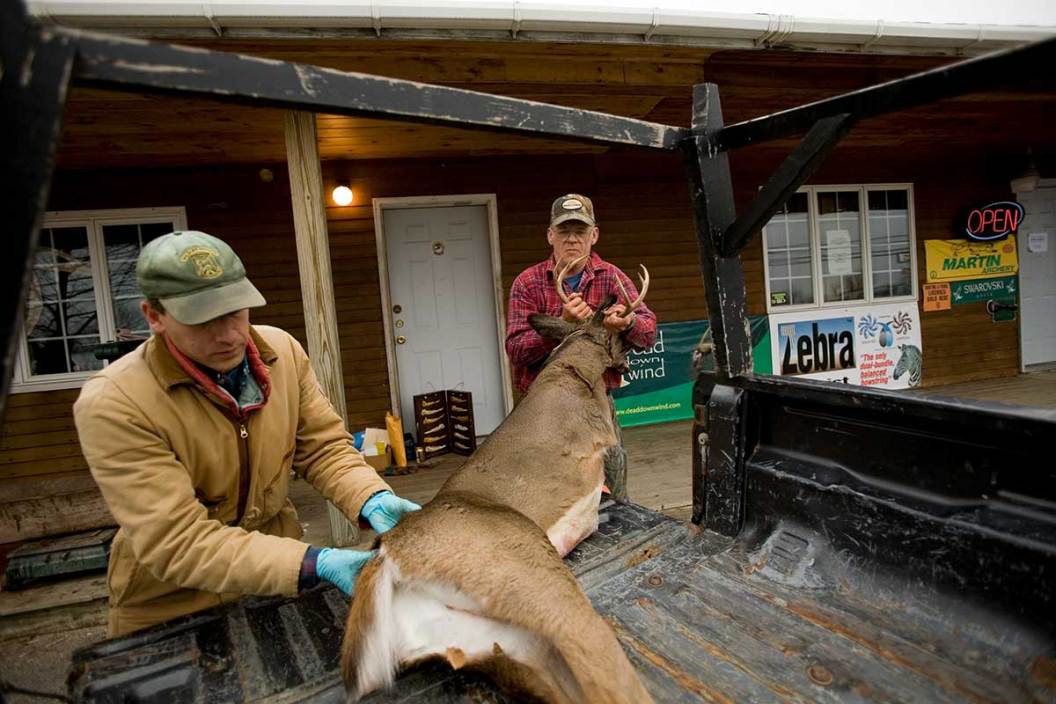
Odds are you've field dressed a few deer in your life (and maybe an elk or antelope, among others), but the potential for problems can arise at this first post-harvest step.
Adding any extra puncture holes in the carcass with your knife or mishandling the gutting process can leave an opening for bacterial growth. The best advice is to always work a little slower than you think you need to.
And it's not always your knife's fault, either. Poor shooting can lead to a gut shot animal, which also opens up the potential for meat spoilage. In this case, you're going to want to remove the animal's entrails as carefully as possible, and do everything in your power to prevent contact between the mess and the meat.
When you do extract the meat, whether it's in quarters or not, work hard to inspect and then clean the outside surface. Eliminate all hairs, dirt, rumen, bile, urine, and debris, and cut away any damaged portions from the shot impact or field dressing process.
Get It Cool
Besides avoiding spoilage due to contact with a deer's guts, cooling down wild game meat is probably the most important part. The reality is that you need to get your fresh meat cool, clean, and dry as quickly as possible. Gutting a deer eliminates a lot of heat, and using a stick or branch to prop open the carcass to cool it before field dressing it is a smart idea.
In the colder northern climate, a deer may not need to be entirely field dressed in order to reach the cool temperatures needed. But in warmer areas, gutting, skinning, and even putting the meat on ice are all important steps. If it's too hot, getting the meat into an iced cooler or walk-in cooler within a few hours is a necessity.
Dry Aging
Once the meat has cooled, there's more you can do to line yourself up for a better end result. Dry aging, under the right conditions, is one of the things that helps.
For some of us, this simply means hanging it from a tree outside, as long as the air temp is within 33 and 40 degrees. For others, it means using a refrigerator or walk-in cooler with good temperature control and air flow. You can usually dry age venison for a week, but shouldn't go much longer than two weeks. The bigger the cuts of meat, the longer it should be dry aged.
Why bother with this waiting game? It's done to give the enzymes time to break down connective tissue before bacteria causes the meat to rot. This makes the meat more tender and flavor-concentrated. The lower the humidity around the meat, the slower any bacteria will reproduce and the safer the process becomes.
There is a basic truth to the fact that we are actually letting our deer decompose when we hang it for a few days, but under the right conditions, we are using a tried and true process proven to have a positive effect on the taste.
Proper Butchering
For those that take wild game to a deer processor, this isn't that important. But for those that butcher their own meat, it's time to pay attention. Most of us start by removing the inner loins and the backstraps. Then come the quarters, and perhaps the rib and neck meat.
Whether you're leaving them as whole muscles or wanting to cut it into steaks, you'll need to take the time to remove the unnecessary tendons, fat, silverskin, and anything else that you don't want to see on your plate or that of your guests. This process takes time and precision, and you aren't going to eliminate everything, but do the best you can. A little patience with your favorite knife can go a long ways toward a succulent dinner later on.
Storage
It is said that wild game meat can last for several years in a good freezer if it is well-wrapped and properly cared for from the beginning, but to get the best out of your cuts of meat, plan on eating it within a year of when it was harvested.
The storage choices are many: butcher/freezer paper, Ziplock bags, or the preferred vacuum sealed bags. Most of us gravitate towards vacuum sealing since it has a reputation for preserving frozen meat (or just about anything for that matter) longer and with less issues.
I've used all three methods and while I prefer vacuum sealing as a rule, I've never had any issues with the other methods. That's probably because I took good care of the meat before ever freezing it, and I didn't let it stick around for more than a year.
Besides, when you have such great-tasting protein in your personal collection, it's hard to hang on to it for too long.
Looking for a new way to display those antler sheds? Go to Rack Hub and use the coupon code Craiger. Be sure to follow my webpage, or on Facebook and YouTube.
Products featured on Wide Open Spaces are independently selected by our writers and editors. However, when you buy something through our links, we may earn a commission.
NEXT: ELK BACKSTRAP RECIPE: LIGHTLY SEASONED, COOKED IN CAST IRON, AND FINISHED IN THE OVEN


