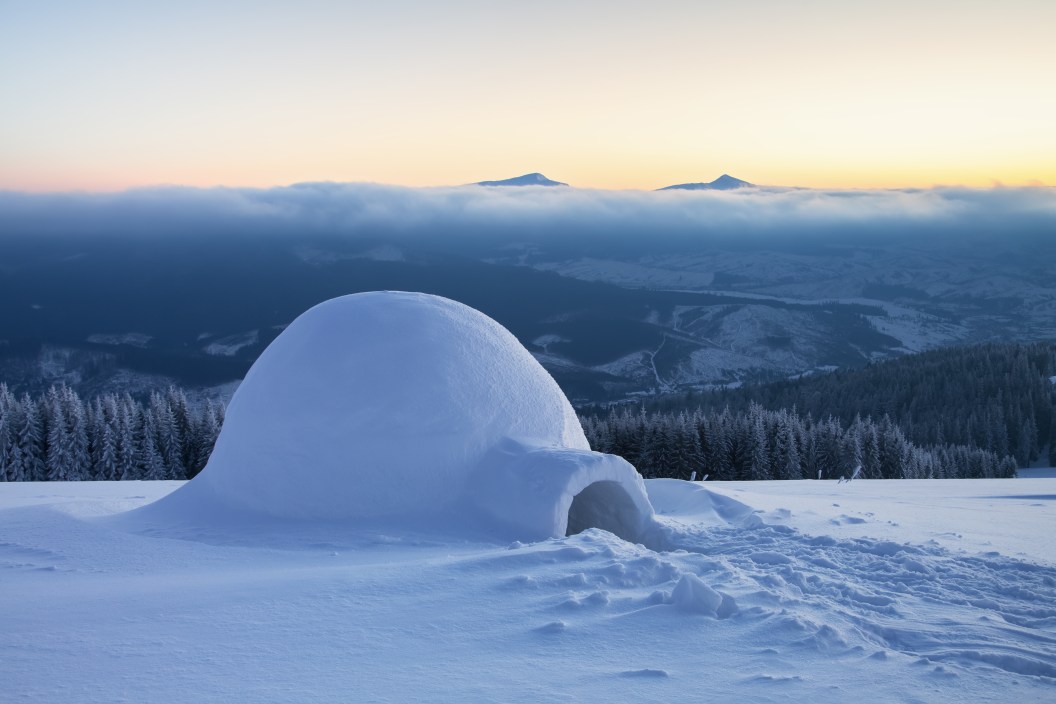
If you want to make an igloo, you're going to have to crack some snow eggs. That being the case, take comfort that even the most experienced igloo builders still have to go it slow and maneuver mistakes. Just as any 3-year-old can build an igloo, so can any middle-aged adult screw one up multiple times throughout one afternoon.
All other things being equal, this guide to the igloo building should instill all the know-how necessary to build an exquisite snow cave. Ya'll ready? Let's go!
What Do You Need to Make an Igloo?
https://www.instagram.com/p/Bfyudq1FsF-/
Lots of Snow: The most important thing for all igloo construction is having enough snow. While smaller igloos made for one person will require fewer building materials, if you want your ice hotel to be a real igloo, it must be roomy enough to house a small polar bear family like the one from the Coca-Cola commercials. Although we could start talking about cubic feet and whatnot in technical terms, know that you'll want to have what amounts to an arsenal of snowballs on hand when you begin packing snow for igloo blocks.
The Right Kind of Snow: To top things off, the flakes you choose need to be of the excellent variety. Rather than the powdery stuff you'll find at the surface, you want the hard-packed snow you can't easily sink your boots through. So, in addition to the right kind of snow, add a shovel to your list, which will also help when it comes to packing your snow bricks.
A Snow Mold: You'll want some containers when it comes to shaping your blocks of snow. While dedicated igloo brick makers are available, they don't offer much (other than a handy handle) that a small ice chest can't. No matter how you DIY it, the important thing is for your mold to be rectangular. You want to make longer ice blocks easier to overlap when stacking, resulting in a sturdier snow shelter.
How to Make an Igloo
https://www.instagram.com/p/U62k1eKZZb/
RELATED: Glamping 101: Your Guide to a Glorious Glamorous Camping Experience
Now that you know what you'll need — plenty of the right kind of snow, a mold, and a shovel — here's a step-by-step guide to bringing it all together:
1. Draw a large circle on the ground as a guide. This circle will be the igloo's inner perimeter, so feel free to sit inside it to determine whether you'll have enough room when occupying your hollowed-out snow mound.
2. Start making bricks. Begin with snow from the center of your circle to make a depression, ultimately rendering more standing room within the finished product. Your first layer of bricks should create a gradual slope of about 15 degrees so that you can lay the standard bricks you make later on in an upward spiral. On top of that, you want them to bevel them slightly to create an inward lean. The first bricks will naturally be less beveled than the next layer, and the later bricks will meet to make your ceiling. All the degrees and angles we're dealing with here will depend on how wide your circle is. It'll take a lot of eyeballing and instinct, as well as trial and error. Don't expect to get it right your first or tenth time.
3. Leave a hole on top. As construction approaches the top of your igloo, form bricks in a way that'll leave a small hole for ventilation. Ventilation holes are essential to igloo construction, as there's nothing fun about asphyxiation. While you want to keep body heat in and cold air out, you certainly don't want CO2 poisoning. It'll be a lot like forming that first layer regarding lengthwise slopes when shaping your bricks in the mold. Again, this takes some critical thinking. I hope you passed geometry in high school!
4. Make an entrance. It's much better to cut a door out for your igloo later than build it with an opening, which is inadvisable. Of course, be gentle as need be to make sure you don't knock the thing over in the process. Using a shovel, machete, or some other thin-edged object, work your way back and forth until you've got an arch of snow you can remove. After that, dig out some stairs or a slope to make a graded entry.
Instead of cutting a door out, some folks prefer to dig under the wall and make a recessed entrance. While this can help your construction retain heat, be advised that it can also weaken foundations, resulting in a dangerous cave-in.
5. Hose it down and warm it up. Outside the igloo, spray or pour some water to form an icy shell. Inside, use a propane lantern or other mild (nonelectric) heat source to make the walls sweat a bit. Give both sides time to refreeze before entering. Voila: You're home!
!!! WARNING !!!
Both igloos and ice caves can be dangerous due to cave-ins and built-up CO2 from a lack of air holes. Hazards include but are not limited to asphyxiation, hypothermia, and bodily injuries. While we wouldn't ultimately dissuade you from constructing your own, we certainly advise the utmost caution and consideration.
Final Fast Facts
https://www.instagram.com/p/CQA7MuNACeU/
According to Merriam-Webster, the source of the word "igloo" is the Inuit word "iglu, which means snow hut or house. Meanwhile, Wikipedia reports that although the term is ascribed to all Inuit and Eskimo people, it was only used by those in the arctic tundra regions of central Canada and western Greenland.
Anything you would add to help folks out? Please tell us your igloo tips and tricks on our Wide Open Roads Facebook!


