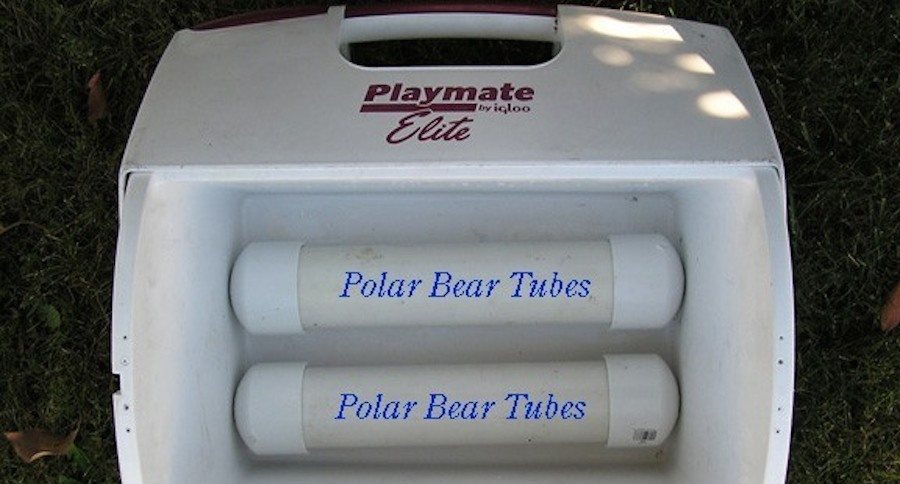
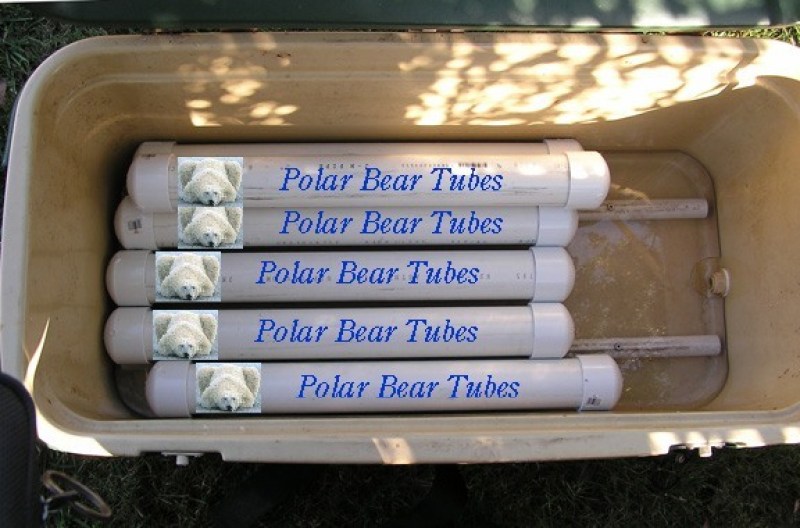
Polar Bear tubes are a life-changing alternative to ice.
Polar Bear tubes are an amazingly simple solution to the drawbacks of keeping ice cold. Polar Bear tubes are super easy to make DIY-style, and the cost is extraordinarily low for each tube. The original idea for the Polar Bear tubes comes from Bill Shelton.
Materials
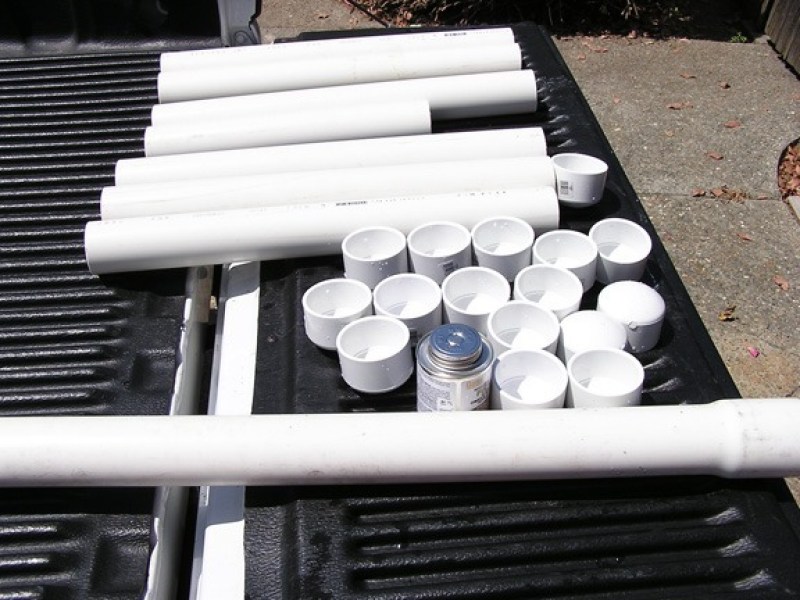
- PVC pipe
- PVC end fittings
- PVC glue
You need some PVC pipe. Shelton recommends a 2-inch pipe, but this can be adjusted based on the size of your cooler and your needs. A thicker tube will take longer to freeze, but it'll also stay frozen longer. The only other materials are end caps for the size PVC you elect to use, as well as PVC glue. Make sure to use good glue, so the water doesn't leak out of the pipes when it melts.
How to assemble your Polar Bear tubes:
Here are a few cooler tips to keep in mind as you assemble your Polar Bear tubes:
- Measure your freezer and your cooler. Make sure your Polar Bear tubes will fit in both your freezer and your cooler and think about which way you want to store them. Taking a minute to think about this will save you some headache down the road.
- Keep it clean. If you keep the inside of your Polar Bear tube clean, you can use the water as an emergency source of clean water.
- Let the glue dry. Glue one end fitting onto your PVC pipe and give it plenty of time to dry.
- Do not fill the tube all the way full! You only need to fill it about 90 percent with water. The empty space allows for the water to expand when it freezes. If you fill it full and then freeze, the tube will burst.
- After the second fitting has had time to dry, throw your new Polar Bear tubes in the freezer and get ready to take them into the outdoors.
NEXT: LEMON DROP ARNOLD PALMER MOONSHINE RECIPE
https://rumble.com/embed/u7gve.v3tqy9/
