Deer season means the kitchen is open for business.
We all love deer hunting. We love everything about it. But let's be honest, one of the best things about it is those beloved, juicy deer backstraps.
Here's a way to prepare them that'll knock your socks off and become one of your favorite wild-game meals from here on out.
First thing's first, of course: kill a deer! Once you have that lovely organic deer meat, it's time to grab your ingredients for this delicious bacon-wrapped venison backstrap recipe.
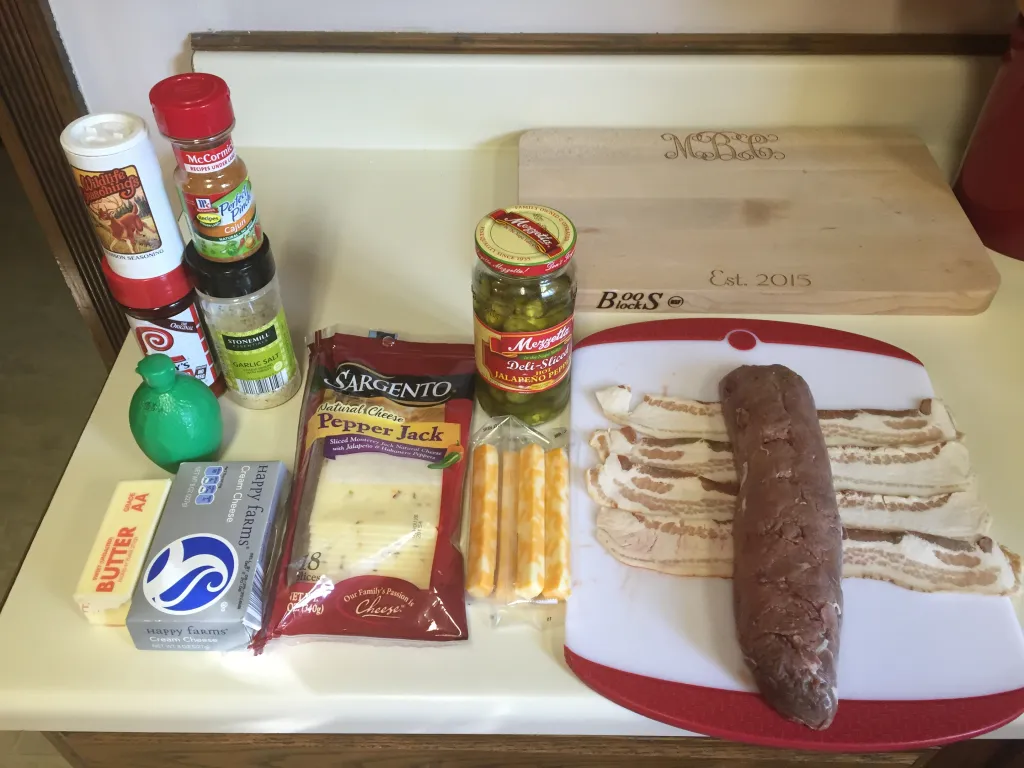
Ingredients
- Backstrap
- Bacon
- Jalepeños
- Cheddar chunk cheese
- Pepperjack slices
- Cream cheese
- Spices & seasonings (garlic salt, Lowry's, cajun, and any other personal choices)
- Lime juice
- Butter
Preparation
Once you have all your ingredients ready, lay out enough bacon to fully cover the length of the cut of meat you have. The length of backstrap will obviously be determined by the number of people you are feeding.
Lay the backstrap atop the bacon and butterfly it open as pictured below. I am covering only half in bacon so you can see what's going on underneath.
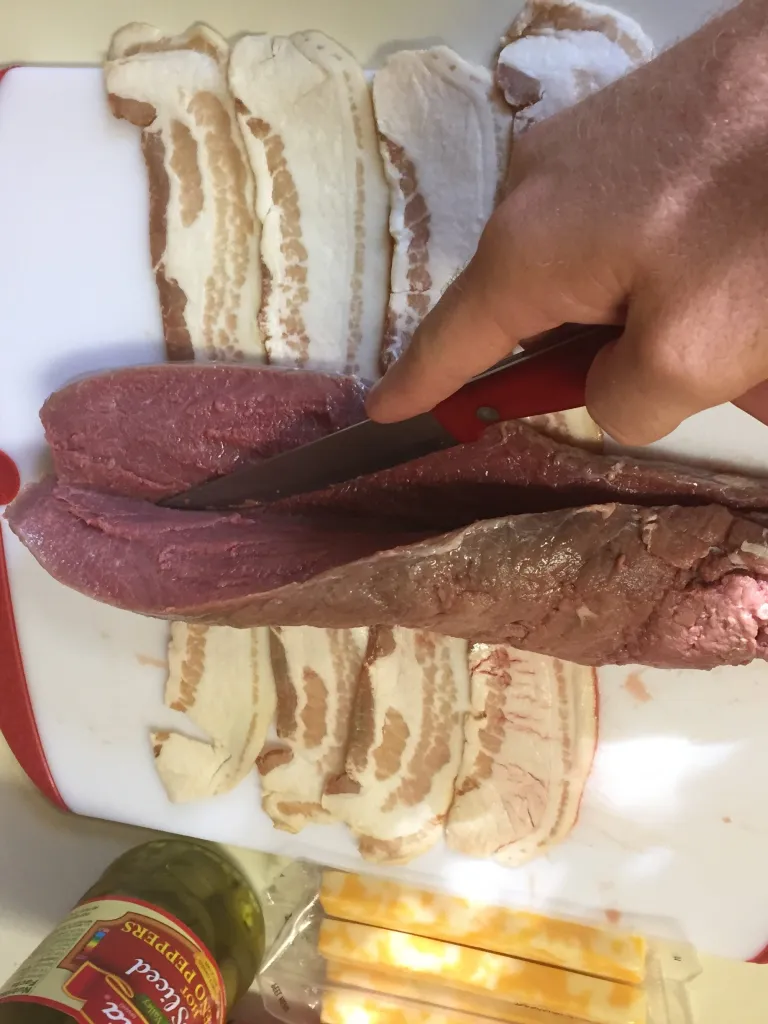
Once you butterfly the backstrap, it's time to start adding the rest of your ingredients. Simply follow the steps of the pictures in order and watch your masterpiece form.
Once your taste buds start anticipating the awesomeness, please refrain from slobbering on the backstrap.
Add your desired amounts and types of seasonings. My favorites are wild-game rub, garlic salt and cajun spices.
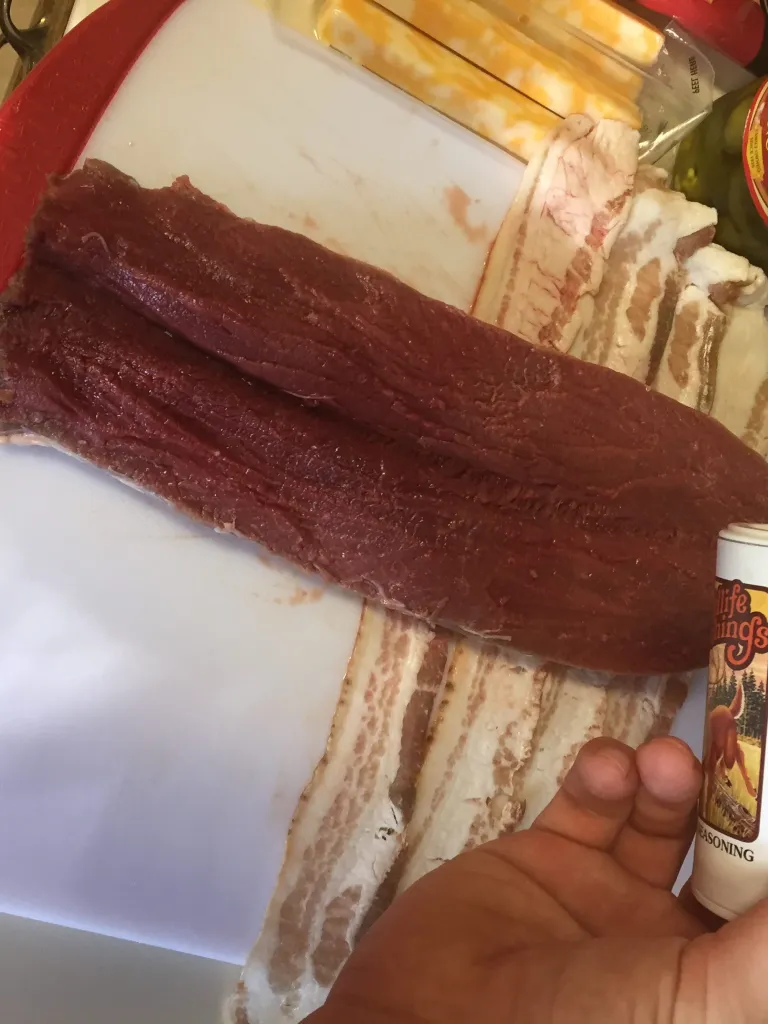
Add a few slices of butter.
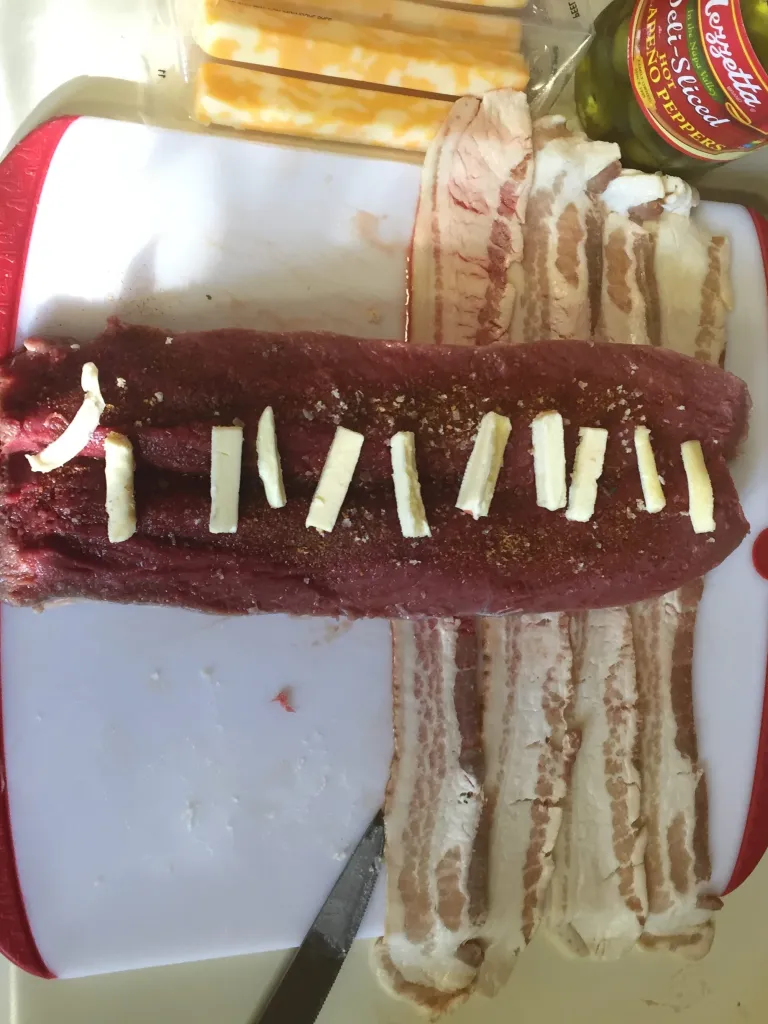
Now, add your chunk cheddar cheese and stuff the middle with jalapeños (or other peppers and mushrooms for more mild filling).
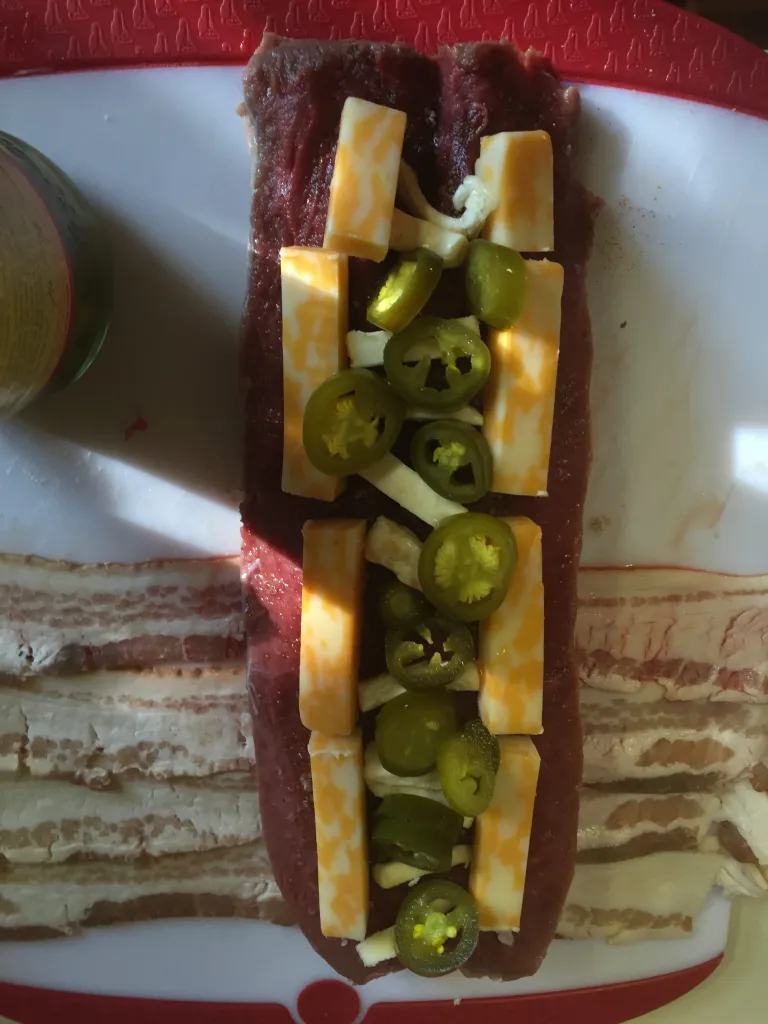
Now, you can spread some cream cheese, if you'd like, onto the peppers and then place the pepper jack cheese on top of it all. If you decide you want to make this dish down the road, feel free to add diced tomato, a BBQ rub, breadcrumbs, extra crumbled bacon, bacon drippings or a cream cheese mixture to diversify your flavor profile.
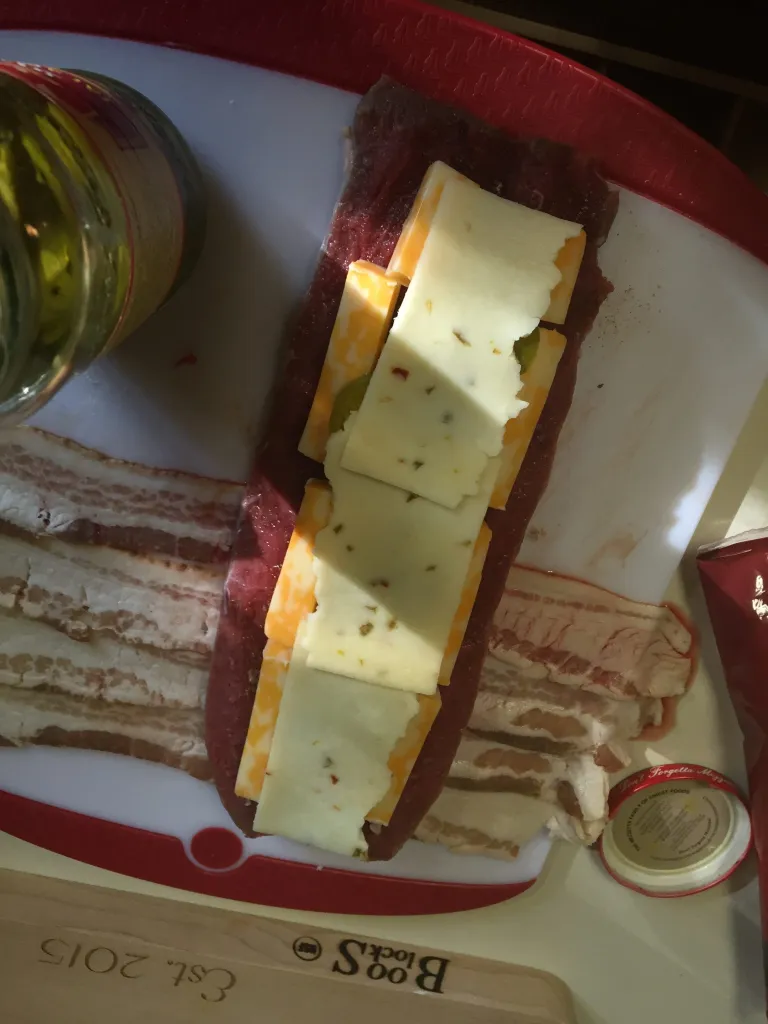
Squirt a little lime juice in it!
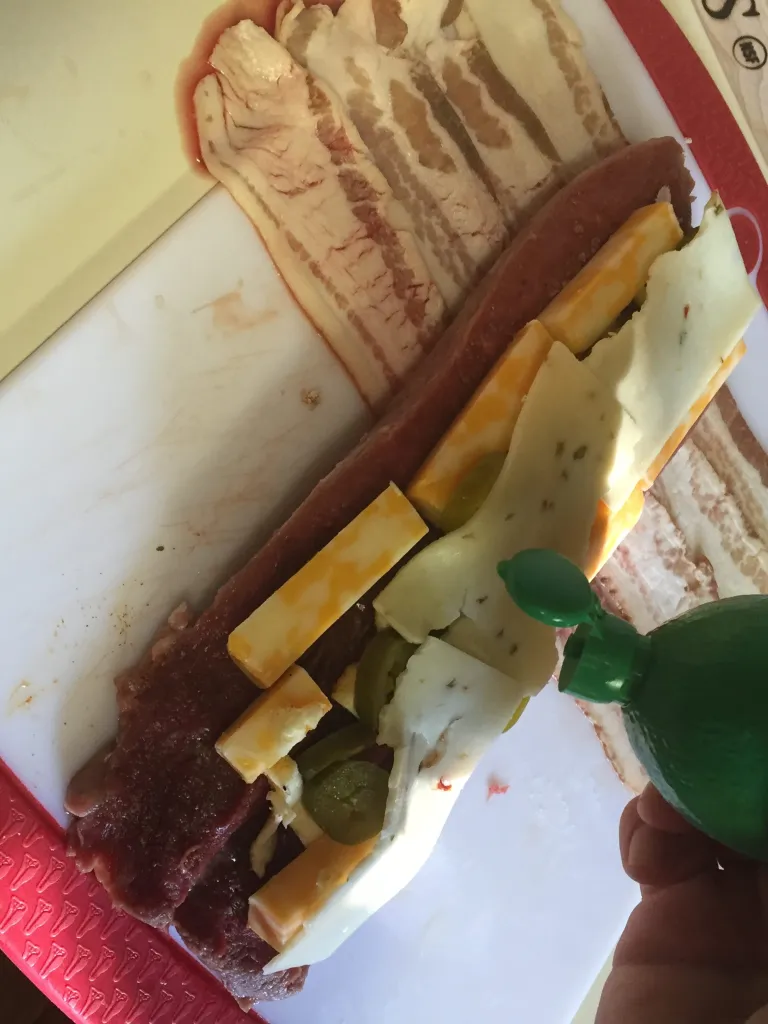
Now begin to close it up by folding it, wrapping the bacon around it, and using toothpicks to hold it in place.
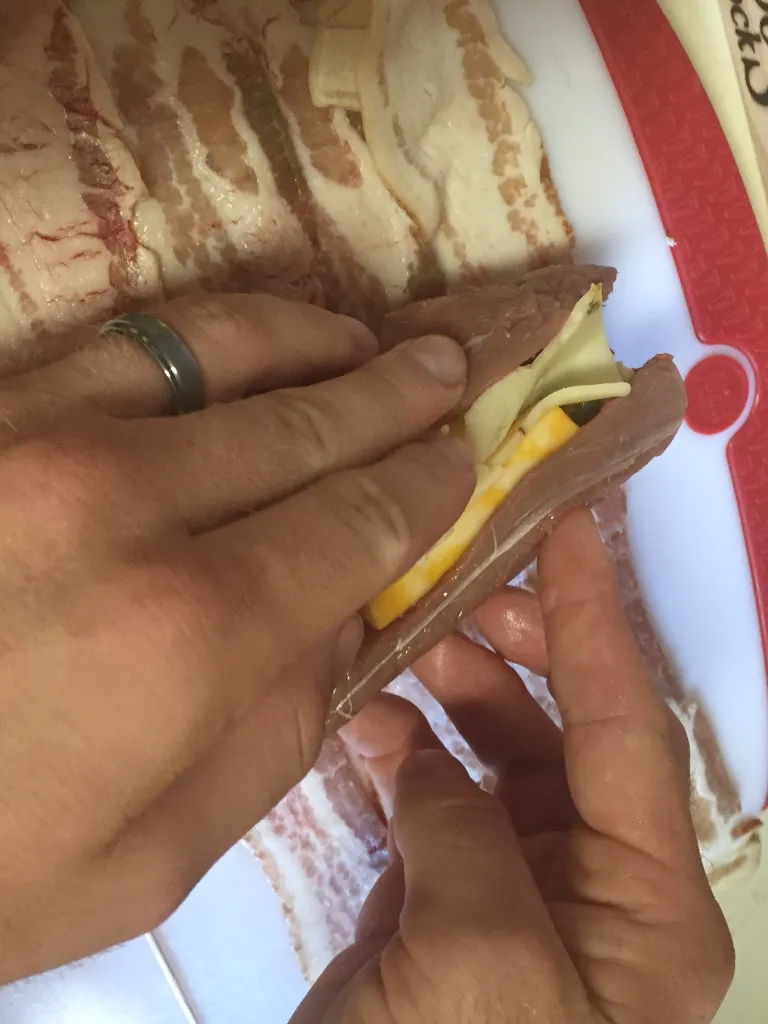
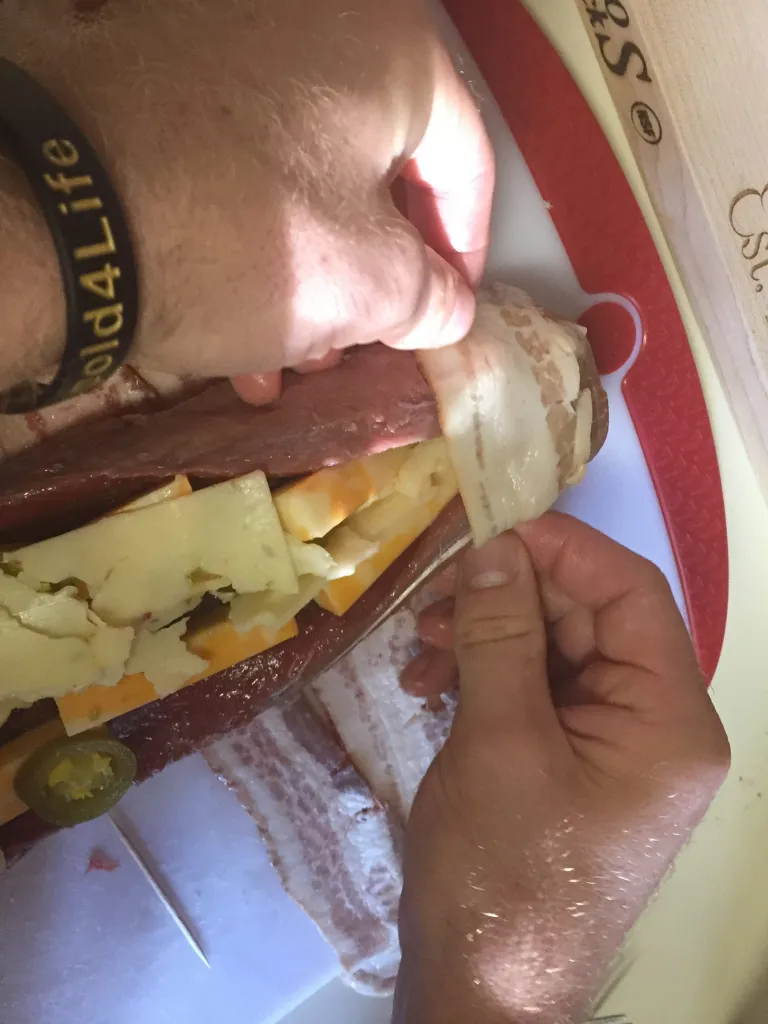
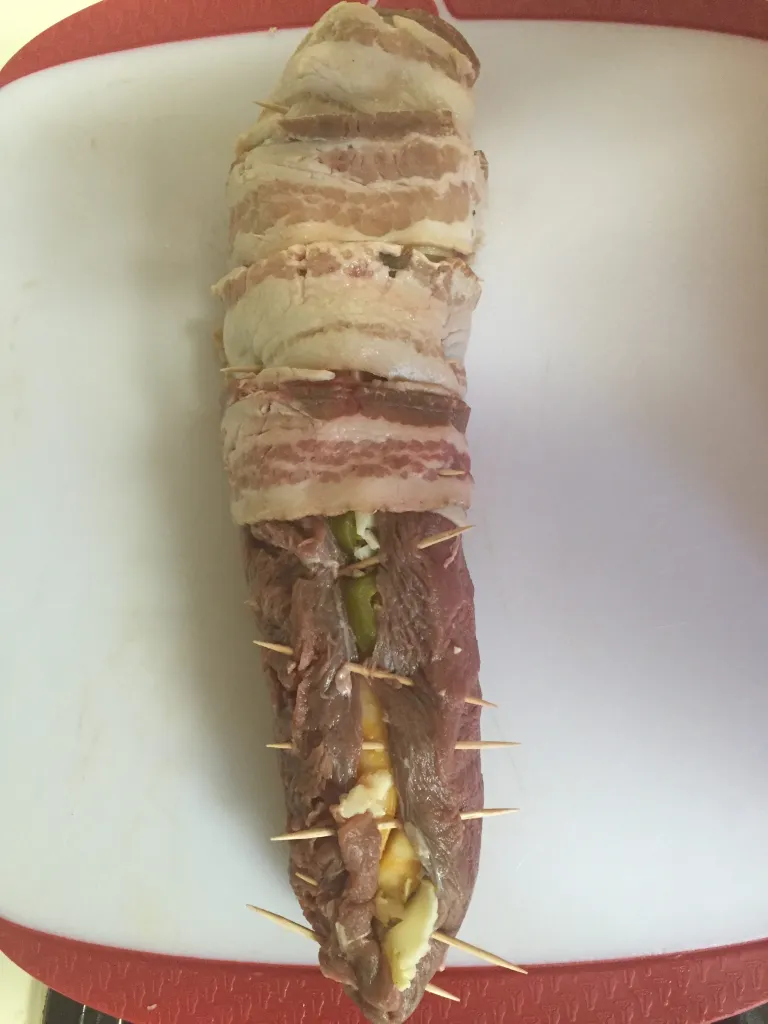
Push and pull until everything is compact on the inside and you are able to fully enclose it. With a little effort and enough toothpicks, the backstrap should look something like this (below).
Once again, you'll have bacon around your whole backstrap; we just left half undone to show you what it should look like underneath.
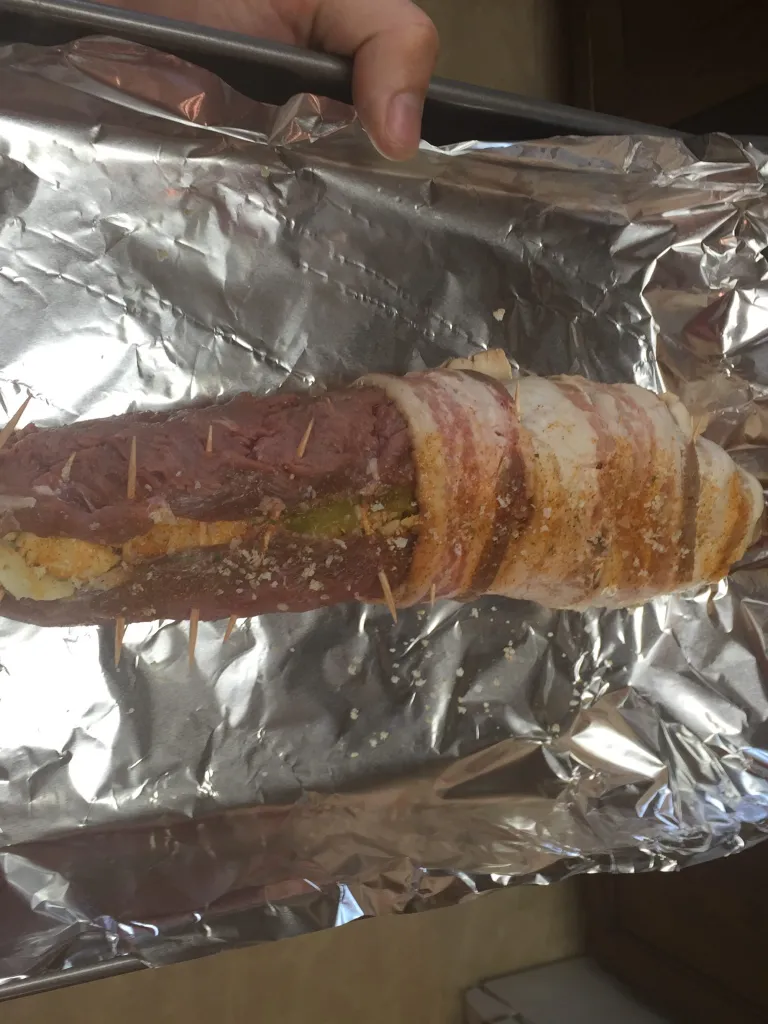
Now, it's time to add the last seasonings to the finished product and cook it up! Sprinkle with seasoning and spices to your liking.
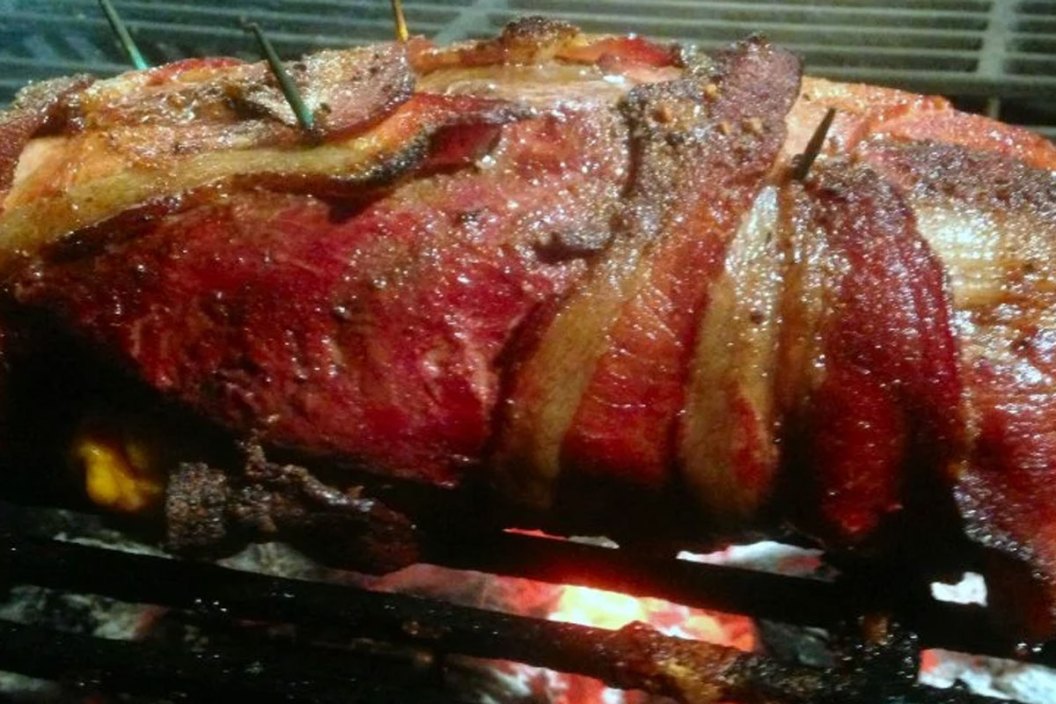
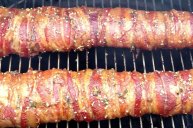
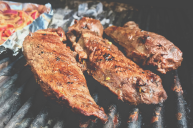
This time, I prepared the stuffed backstrap in the oven, preheating the over to almost 400 and then letting it cook for about 25 minutes. You could also place it on the grill and be just as well off, if not better.
Products featured on Wide Open Spaces are independently selected by our editors. However, when you buy something through our links, we may earn a commission.
Last But Not Least: Devour It Like It's Your Last Meal
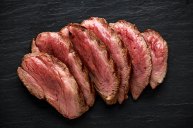
Finally, it is time for the fun part. Let's eat! Cook the meat to your preferred readiness. My family enjoys a medium rare meat, so I check the meat and pull it once it's at our desired readiness.
Slice the backstrap up between each bacon piece. They make perfect meal-sized chunks of meat that are loaded with cheesy peppered goodness and wrapped in bacon. What's not to love?
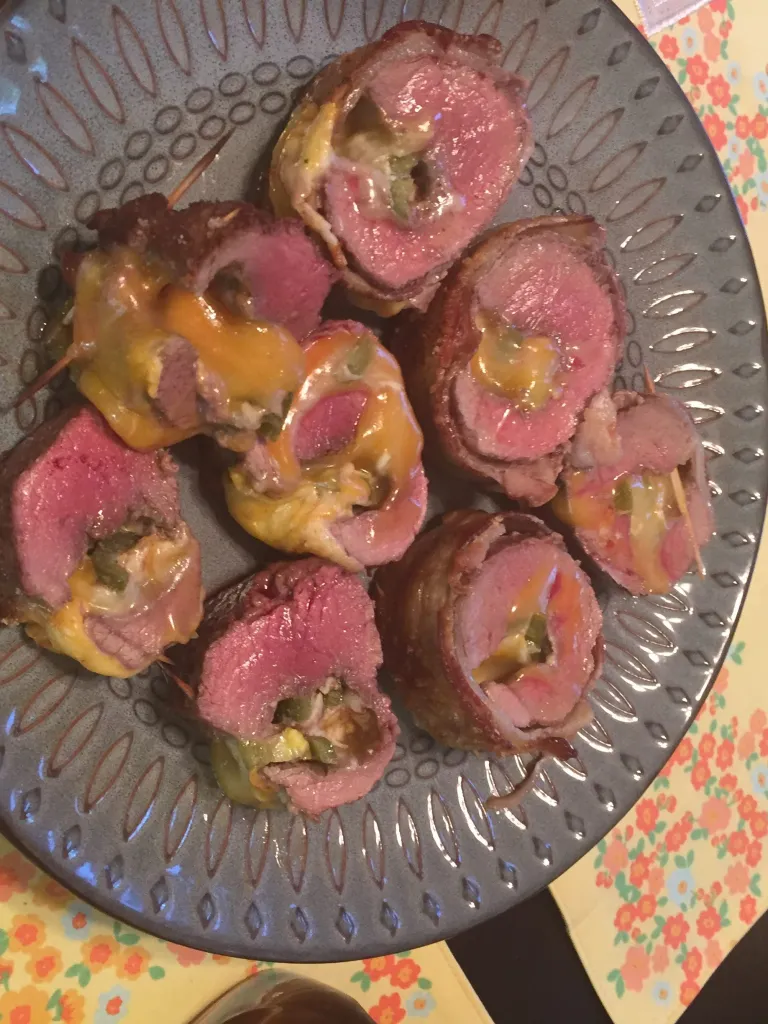
From field to plate, nothing feels better than enjoying a meal you worked very hard on.
We hope you enjoy.
NEXT: BACON DOVE POPPERS: WILD-GAME SNACKS NO ONE CAN RESIST
