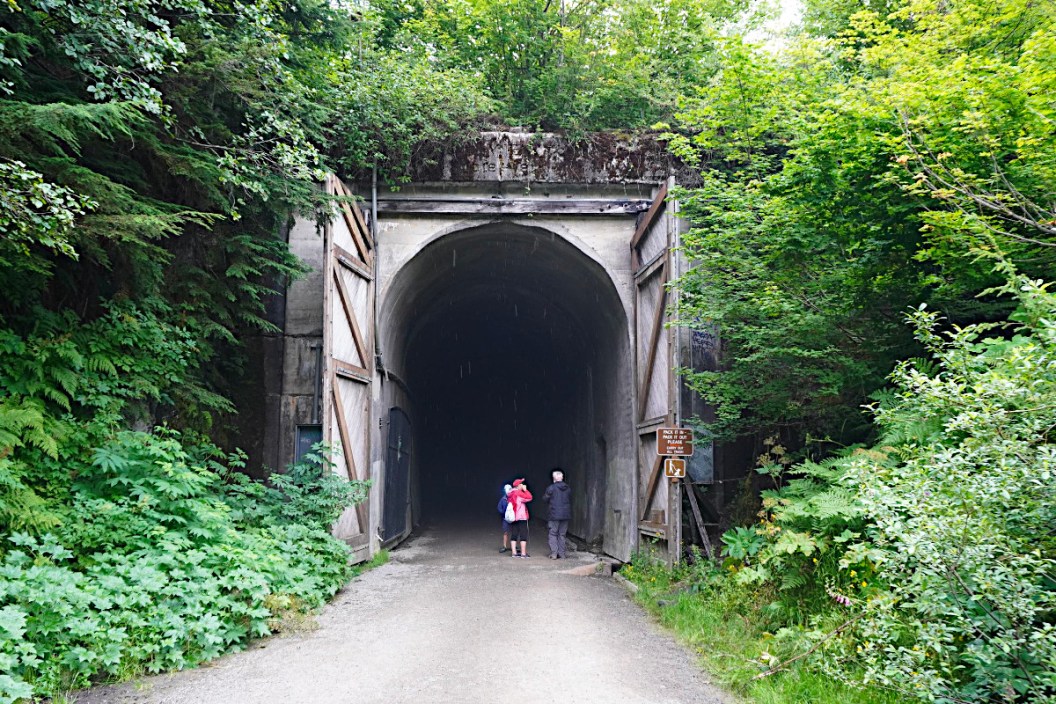
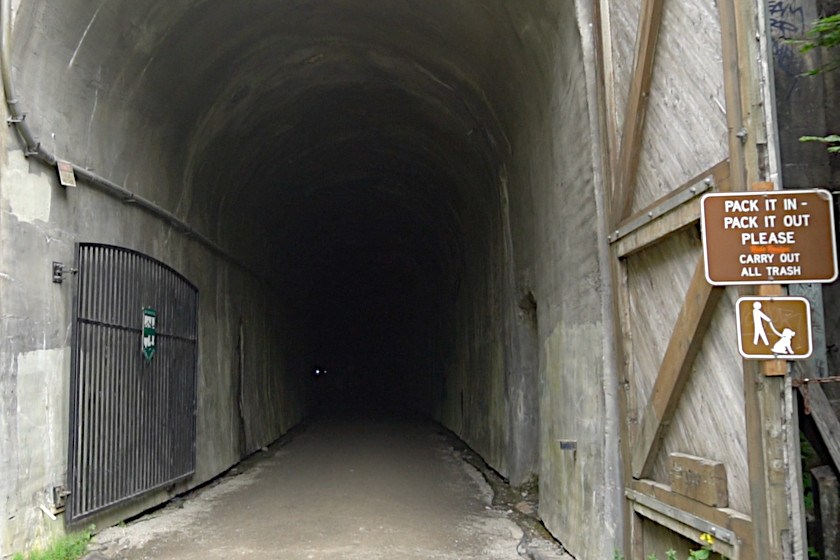
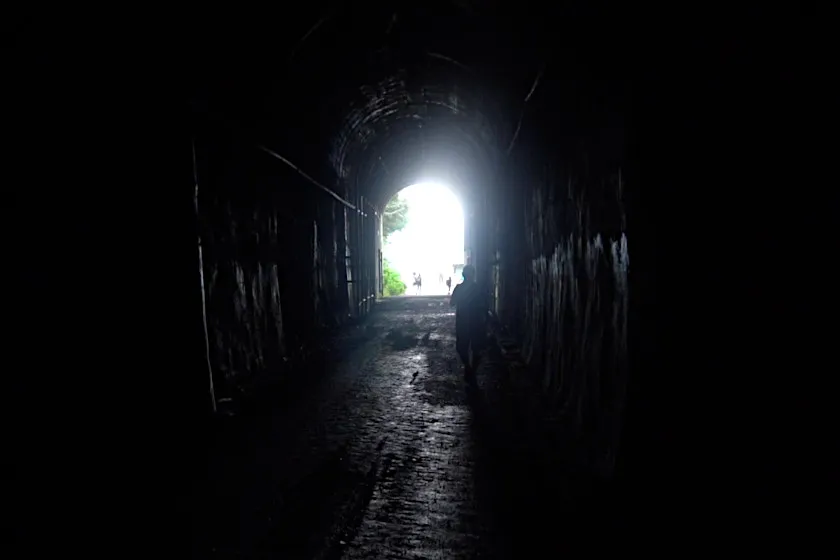
If not for the sounds of other hikers—and the bobbing headlamps in the pitch-black darkness ahead and behind me—this would have been the spookiest hike of my life. In fact, if not for the aid of artificial light, it would've been impossible to see my hands in front of my face. And any light at the end of the tunnel is not even visible—until you get much closer. It was a busy summer day in August, one of the peak times of year for hiking through Snoqualmie Tunnel, situated in Iron Horse State Park outside Hyak, Washington. Not even the crowds could detract from one of the more amazing hiking experiences I've ever had.
The railroad tunnel was once used for massive locomotives transporting heavy loads of freight and passengers. Today it's part of Palouse to Cascades State Park Trail and one of most unique hiking experiences in the Pacific Northwest. At just less than six miles round trip over flat terrain, it's also a great hike for novices seeking a unique experience to break in their boots. Here is everything you need to know about what could probably qualify as the spookiest hike offered by Washington State Parks.
A Brief History of the Tunnel
Travis Smola
Back in the late 1890s, the Chicago, Milwaukee, St. Paul and Pacific railroad (aka: Milwaukee Road) wanted to expand a line from Chicago to Seattle. The Snoqualmie Tunnel is part of a massive Pacific Expansion project that started in 1906. The big challenge was getting the trains over the rugged Cascade Mountains, and in the case of Snoqualmie, it was easier to build a tunnel through than a permanent line over Snoqualmie Pass, which peaks at about 3,000 feet.
The tunnel was eventually completed in 1914 and was quickly put into service. However, the railroad's owners were plagued with financial woes almost from the get-go. It probably didn't help that the company decided to build this line along an already established route maintained by Northern Pacific Railway. In any case, the line was still busy. The railroad electrified the tunnel in 1917. It was used for decades after that, but the financial problems persisted. Finally, in 1980, Milwaukee Road went bankrupt and had no choice but to abandon the line. The State of Washington acquired the tunnel, turning it into a rail trail—as were many other sections of the line. In 2011, the tunnel underwent extensive renovations to strengthen it and improve the surface for hikers, and it remains a popular state park today.
When is the Tunnel Open?
Travis Smola
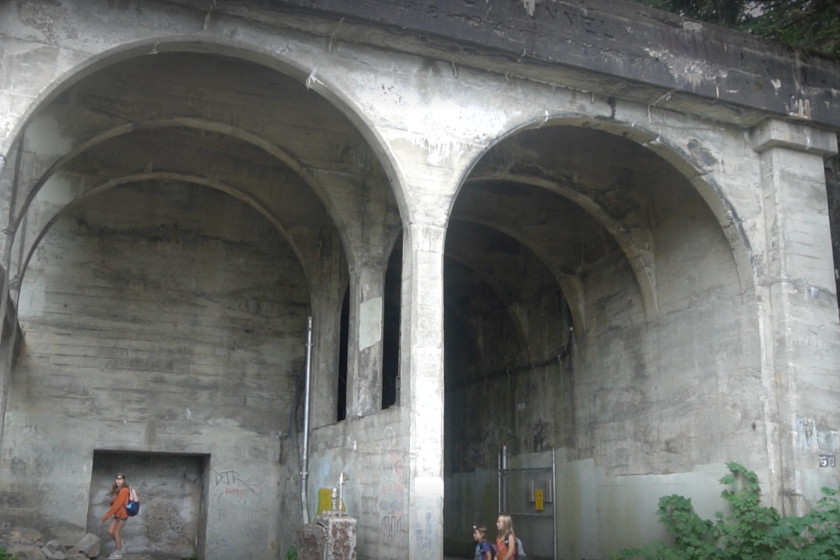
While most of the Cascades Trail is open year-round, the tunnel is not. Dangerous ice conditions can form inside the train tunnel during the winter months. Normally, it's cold inside the tunnel, so most people may want to tackle this hike in the summer months.
The timing of the opening and closing varies by the year and the weather. Some years it may close and open earlier or later than others. However, the state usually opens the gates in the mid-May, closing them again around the beginning of November. We recommend planning your visit between those dates. Check the Washington State Parks website for alerts on openings and closings.
The Hike Through the Tunnel
Travis Smola
Reaching the tunnel is easy. From Seattle it's a short, one-hour drive along I-90 east. Take exit 54, and the parking lot and trailhead are directly off the highway. Some maps still refer to it as Iron Horse Trail or John Wayne Pioneer Trail, so don't get confused. Restrooms and picnic tables are available for lunch before or after your hike. There is a small parking fee, or you can use the Washington State Discover Pass. From there, follow the trail west to the east side entrance of the tunnel.
The trail is mostly packed gravel, so any good pair of hiking boots will suit you well for this hike. Although a waterproof hiking boot may be a better option since the tunnel can be rather damp. This is a solid hike for beginners because there is no elevation gain—just a flat, level hike through the darkness. Regarding that darkness, the tunnel gets pitch black about halfway through. You will need a good light source. Round trip, it's about 4.5 miles of hiking in darkness and your phone's battery will wear down quickly if you use the flashlight. Trust me, you'll want a light of some kind, especially since there are some huge puddles. Plus, you'll want to look up at the tunnel's ceiling from time to time. There are some thin stalactites forming on the ceiling—and sometimes on the side of the tunnel that are worth checking out.
We recommend bringing a quality LED flashlight, headlamp, or a small lantern for extra visibility and for other users too. Cyclists use the tunnel, and you'll want to ensure you're visible to them in the dark. The tunnel stays consistently cool—and even cold—so dress appropriately for the conditions. A light hoodie should suffice during the summer months. You may want to dress warmer at the start or end of the season when temperatures drop.
If you are into the GPS-oriented hobby of geocaching, one of the oldest caches in the state, "Iron Horse," aka GC79, is located just a short distance from the west end. A little farther down the trail is an even more meaningful geocache, "Mission 9: Tunnel of Light," aka GC1169. Tunnel of Light is one of only two Project A.P.E. geocaches remaining on Earth. The other is in the jungles of Brazil, so the Snoqualmie Tunnel is the more accessible of the two for most people.
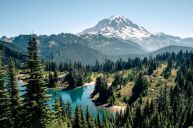
The trail continues if you want to keep hiking on the far side of the tunnel. And the views of the surrounding mountains are gorgeous. Often, beautiful wildflowers grow beside the trail, and if you're there early enough in the morning, you may even see some wildlife. The Snoqualmie Tunnel was one of my favorite hiking experiences in Washington, and it's the perfect hike for families. It's also a great hike for anyone looking for something spooky for Halloween season. We'd also highly recommend it for anyone who enjoys combining history and nature in the same hike. Give it a look the next time you visit Washington. You won't be disappointed.
For more outdoor content from Travis Smola, be sure to follow him on Twitter and Instagram For original videos, check out his Geocaching and Outdoors with Travis YouTube channels.
